Visual Thread Inspection
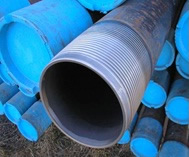
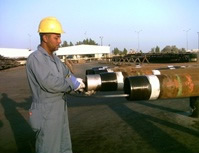
Visual examination of threads and sealing surfaces to detect mechanical damages, corrosion and improper machining practices. This method also involves making linear measurement thread length and coupling position.
Drifting
Passing a cylinder with a specified diameter and length through the pipe to detect ID reductions. The drift diameter may be specified by API (or) special requirement.
Electromagnetic – 2
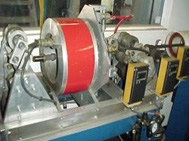
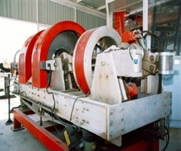
Full length scanning (excluding upsets) using a unit with longitudinal magnetic field EMI (transverse flaw), transverse magnetic field EMI (longitudinal flaw), grade verifier and hall effect system for measuring wall thickness capabilities
Evaluating Flaws such as fatigue cracks, corrosion pits, cuts, gouges, and other damage that exceed the specified acceptance limits, full-length tube wall thickness and grade verification.


