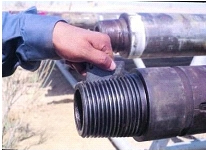
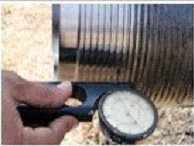
BOTTOM HOLE ASSEMBLY INSPECTION
1) Elevator Groove
• Measurement of elevator groove dimensions such as collar OD, groove length, depth, and visual inspection of groove shoulder
• Evaluating Out-of-tolerance dimensions which could result in inadequate gripping of the collar, or rounded shoulders which could overstress the elevators
• Visual examination of connections, shoulders, and tool joints and profile check of threads, measurement of box swell.
• Evaluating Handling damage, indications of torsional damage, galling, washouts, fins, visibly non-flat shoulders, corrosion, weight/grade markings on tool joint and pin flat.
3) Dimensional – 3
• Measurement or Go-No-Go gauging of box OD, pin ID, pin lead, bevel diameter, pin stress relief diameter and width, boreback cylinder diameter and thread length and HWDP center upset diameter.
• Evaluating torsional capacity of HWDP pin and box, drill collar BSR, evidence of torsional damage, excessive shoulder width, proper dimensions on stress relief features to reduce connection bending stresses, wear on HWDP center upset.


